Reprogramming Your Garage Door Opener: A Step-by-Step Guide
The convenience of a garage door opener cannot be overstated, but there are instances when you may need to reprogram it. Whether you’ve recently moved into a new home, need to update your garage security, or want to switch to a new opener, understanding how to reprogram your garage door opener is an essential skill. In this step-by-step guide from The Overhead Door Company, we’ll walk you through the process, ensuring your garage door operates smoothly and securely from the comfort of wherever you are using your opener.
STEP 1: Gather the Necessary Materials
Before you begin reprogramming your garage door opener, gather the following materials: a ladder, the owner’s manual for your opener, a new remote (if necessary), and a pen and paper for taking notes. Having these items on hand will make the process more efficient and ensure you don’t miss any crucial steps.
STEP 2: Access the Garage Door Opener’s Control Panel
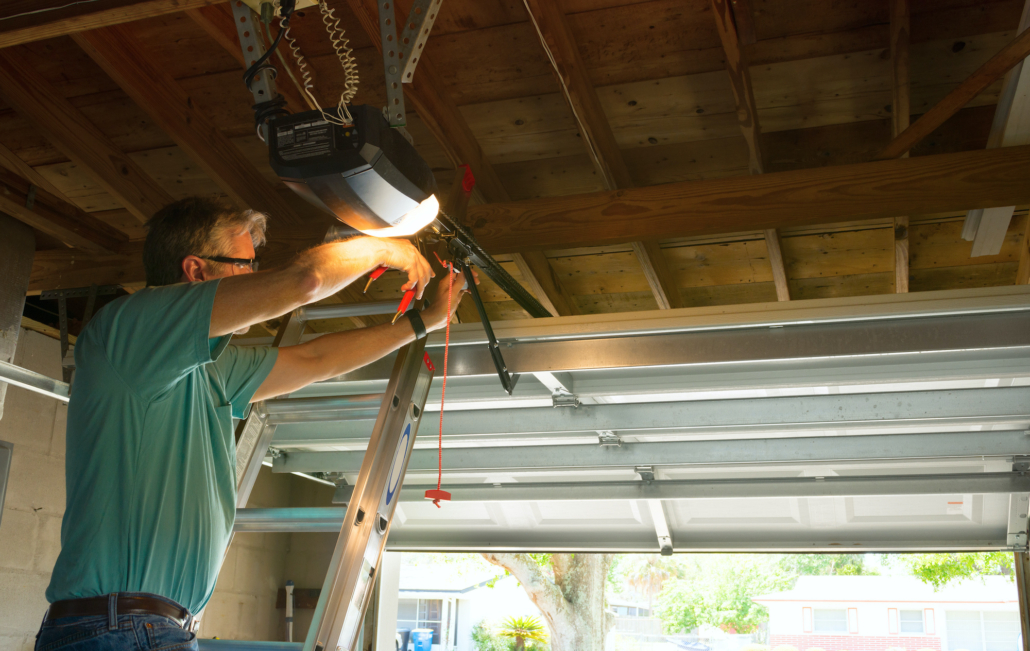
Locate the control panel of your garage door opener. This panel is typically attached to the ceiling of your garage near the garage door itself. Use a ladder to safely reach the control panel, making sure to turn off the power to the opener to prevent any accidents.
STEP 3: Reset the Garage Door Opener
To start the reprogramming process, you’ll need to reset the garage door opener. Look for a small button on the control panel, often labeled “Learn” or “Program.” Press and hold this button until the indicator light starts flashing, indicating that the opener is ready to receive new programming instructions.
STEP 4: Reprogram the Remote Control
Once the garage door opener is in programming mode, it’s time to reprogram the remote control. Check your owner’s manual for specific instructions as different models may have slight variations in the process. Generally, you will need to press the desired button on the remote control and hold it down until the indicator light on the opener flashes. This step may need to be repeated for each button on the remote control to ensure all functions are programmed correctly.
STEP 5: Test the Reprogrammed Remote Control
After programming the remote control, it’s crucial to test if it’s working correctly. Stand a few feet away from the garage door and press the buttons on the remote control. If the garage door opens and closes smoothly, congratulations! Your reprogramming process was successful. If you need help, consult your owner’s manual or seek professional assistance from The Overhead Door Company.
STEP 6: Finalize the Reprogramming
Once you’ve successfully reprogrammed the remote control, it’s time to finalize the process. Press the “Learn” or “Program” button on the control panel again to exit programming mode. This step ensures that your garage door opener is no longer vulnerable to accidental reprogramming attempts.
Call The Overhead Door Company Today!
Knowing how to reprogram your garage door opener is a valuable skill that can enhance the security and convenience of your home. By following the step-by-step guide outlined above, you can confidently reprogram your opener and enjoy seamless access to your garage, providing peace of mind and ease in your daily routine.
If you still need help reprogramming your garage door opener, feel free to contact The Overhead Door Company. There’s a reason we’ve been around for more than a century, and that reason is quality. Our skilled garage door technicians will walk you through the process, answer any questions, and even provide other services like inspections if needed. Trust us, nothing is more annoying than a broken garage door, and it changes how you approach your day-to-day life. Don’t wait! Visit our site, or give us a call today!


