Reprogramming Your Garage Door Transmitter: A Step-by-Step Guide
Having a functional and secure garage door is crucial for the safety and convenience of your home. Sometimes, however, you may need to reprogram your garage door transmitter for various reasons, such as a lost remote or a change in security codes. In this blog post, we will guide you through reprogramming your garage door transmitter, ensuring you can regain control over your garage door’s access.
Step 1: Locate the “Learn” Button
To begin reprogramming, you need to find the “Learn” button on your garage door opener. The location of this button may vary depending on the brand and model of your opener. Typically, you can find it on the backside of the opener motor or on the wall-mounted control panel. Refer to your garage door opener’s manual for specific instructions on finding the “Learn” button.
Step 2: Clear the Existing Codes
Once you have located the “Learn” button, press and hold it down for about 5 seconds until the indicator light on the opener begins to blink. This action will clear any existing codes stored in the opener’s memory.
Step 3: Choose a New Code
After clearing the existing codes, you must select a new one for your garage door transmitter. This is a critical step to ensure the security of your garage. Consult your garage door opener’s manual to determine the available options for setting a new code.
Step 4: Program the Transmitter
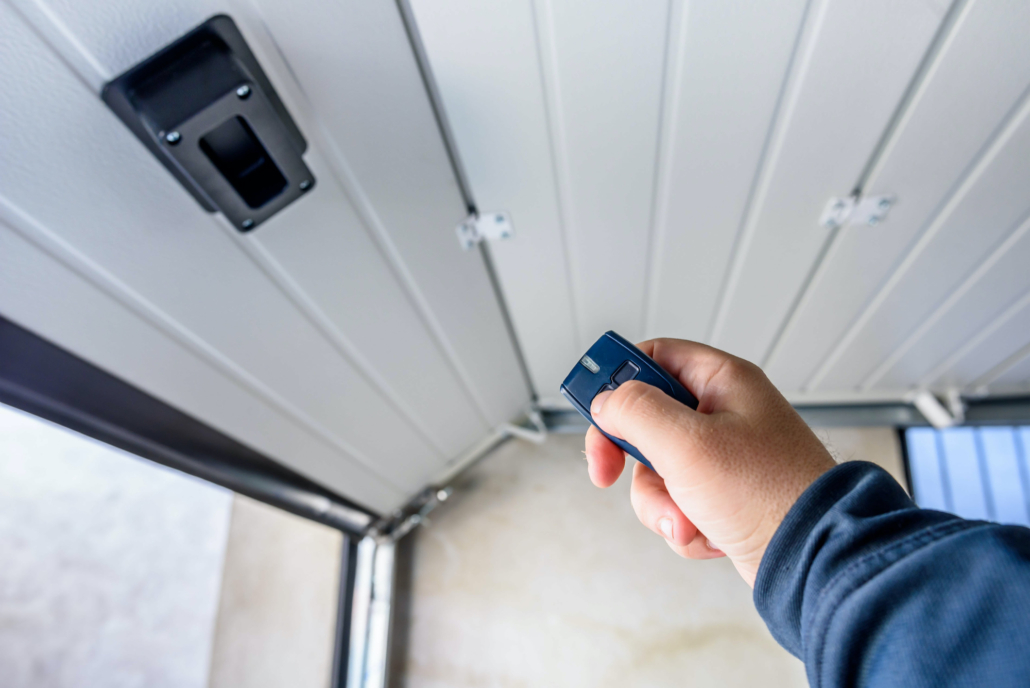
Now it’s time to program your garage door transmitter. On the transmitter, press and hold the button you want to use to operate the garage door. While holding the button down, aim it towards the opener and press the “Learn” button on the opener once. Release the button on the transmitter.
Step 5: Test the Transmitter
Test the transmitter by pressing the newly programmed button to ensure that the reprogramming process was successful. The garage door should respond accordingly, either opening or closing. If it doesn’t work, repeat steps 4 and 5.
Step 6: Reprogram Additional Transmitters
You’ll need to reprogram each one if you have multiple garage door transmitters. Follow steps 4 and 5 for each additional transmitter you wish to program.
Step 7: Finalize the Process
Once you have reprogrammed all your transmitters, it’s time to finalize the process. This step involves pressing the “Learn” button on the opener one last time. The indicator light should turn off or stop blinking, indicating the reprogramming is complete.
Reprogramming your garage door transmitter may seem daunting, but it becomes a manageable process with the right instructions. By following the steps outlined in this guide, you can regain control over your garage door’s access and ensure the security of your home. Consult your garage door opener’s manual for specific instructions tailored to your device. With a little patience and attention to detail, you’ll have your garage door transmitter reprogrammed and fully operational in no time.
*Disclaimer: The process of reprogramming a garage door transmitter may vary depending on the brand and model of your opener. It is always recommended to consult your garage door opener’s manual for specific instructions and troubleshooting guidance.
Still Need Help? Contact The Overhead Door Company®!
With more than a century of experience, The Overhead Door Company® has got you covered for all your overhead opening garage door needs! From your run-of-the-mill inspection and maintenance visits to more demanding custom installations, our operation offers a service that will fulfill your needs.
Don’t wait! Contact The Overhead Door Company of Gainesville & Ocala™ today, and experience why we are called The Genuine and The Original garage door company.


